Here are a few photos of the stripped out interior. I should probably go back and take some detailed measurements so I know where I can screw to attach things.

One of many mouse nests. There were way more than a dozen of these scattered thoughout the walls.
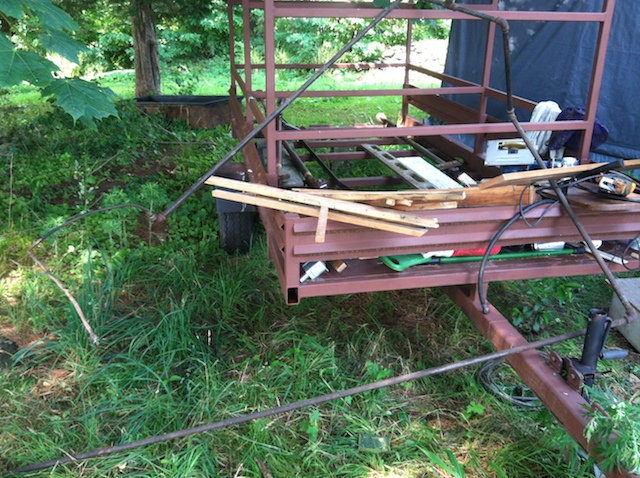
Here is the black pipe used to route gas around the camper. It is fairly heavy. I think copper tubing would be lighter and better, or prehaps hose.
I am saving this and might reuse it. This is the vent and drain. To the left is the water tank and range hood.
Better view of the range hood. The compressor worked for this water tanks, but the shape limits water capacity. The range hood seems like a cheap grade of stainless steel. Much is rusted, and it might take some serious polishing to bring it back. I would prefer to replace it, if I can find one that will fit. Another option is to make one and I have an old commercial kitchen range hood that could be used for materials.
Sink from the bottom. I need to go and get this out of the rain. The heat broke with a thunder storm.
Bottom of the shower pan. I was disappointed there was not holding tank. Although it does keep things rather simple. The toilet drain goes straight out the bottom of the camper There was space for small holding tank, and I expected there to be one. No chance, just some rotten wood framing and more old mouse nesting areas.
Dinnette window area.
Looking aft towards starboard corner.
Marco, my helper. I can't say enough for what a great worker Marco is. And he is good friend as well. I paid him more than he asked for because he has a good work ethic and didn't let the heat stop him. I plan to keep him on helping as much as he has time for me.
Here is the view aft towards the door. The odd shaped aluminum sheets are there to provide a place to put screws. You can see the tail lights as well.
Looking forward. The two panels that make the bed platform are lose but there are a few screws to be removed on the port side panel.
A pile of inner window trim molding on the port wing.
Now this is interesting. The floor was framed, and then this side panel was attached though the floor. I will have to remove two ladder frame sections to remove the plywood and then reattach the aluminum ladders. Worst the screws seem stripped. I wanted to get this plywood out today and decided to wait on it.
This is the shower surround. I grabbed a flat bar to pry this out and did not need it. It was all rotten and broke right out. No wonder the shower walls were so loose. There was nothing holding them on.
This shows the whole corner. My plan is to replace any rot prone wood with solid laminated fiberglass--which is indestructible. I may also install four small drains, one in each corner of the floor to provide a way for the water to get out.


No comments:
Post a Comment